Capturing large areas at high magnification with Zeiss Smartzoom 5’s stitching
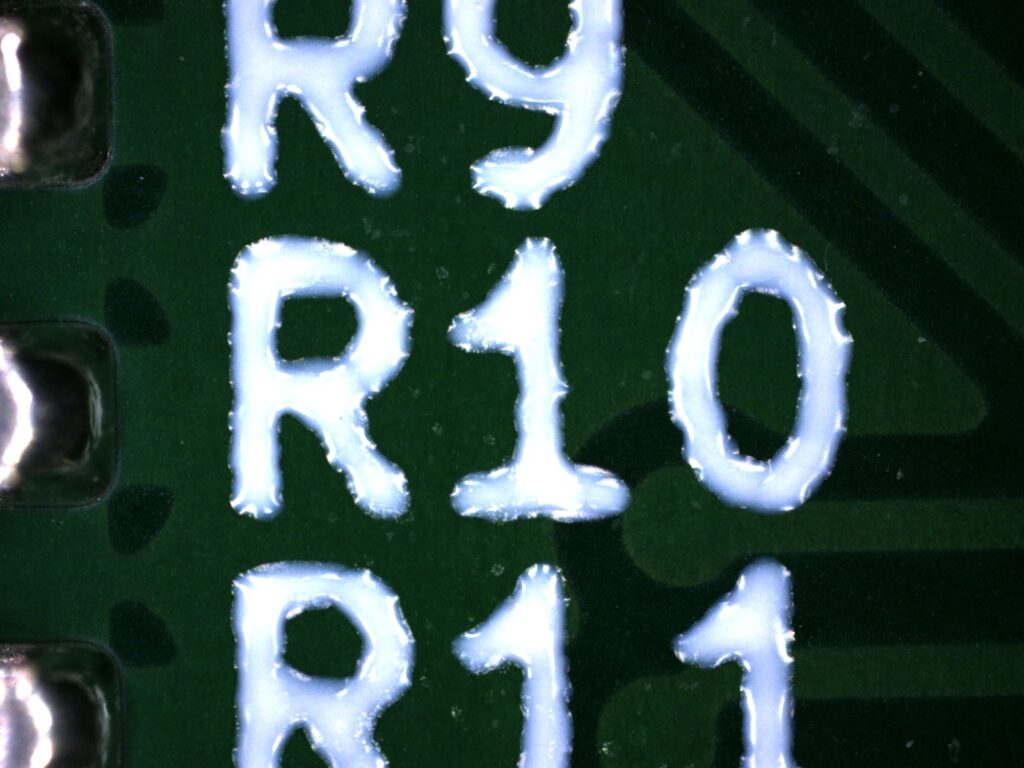
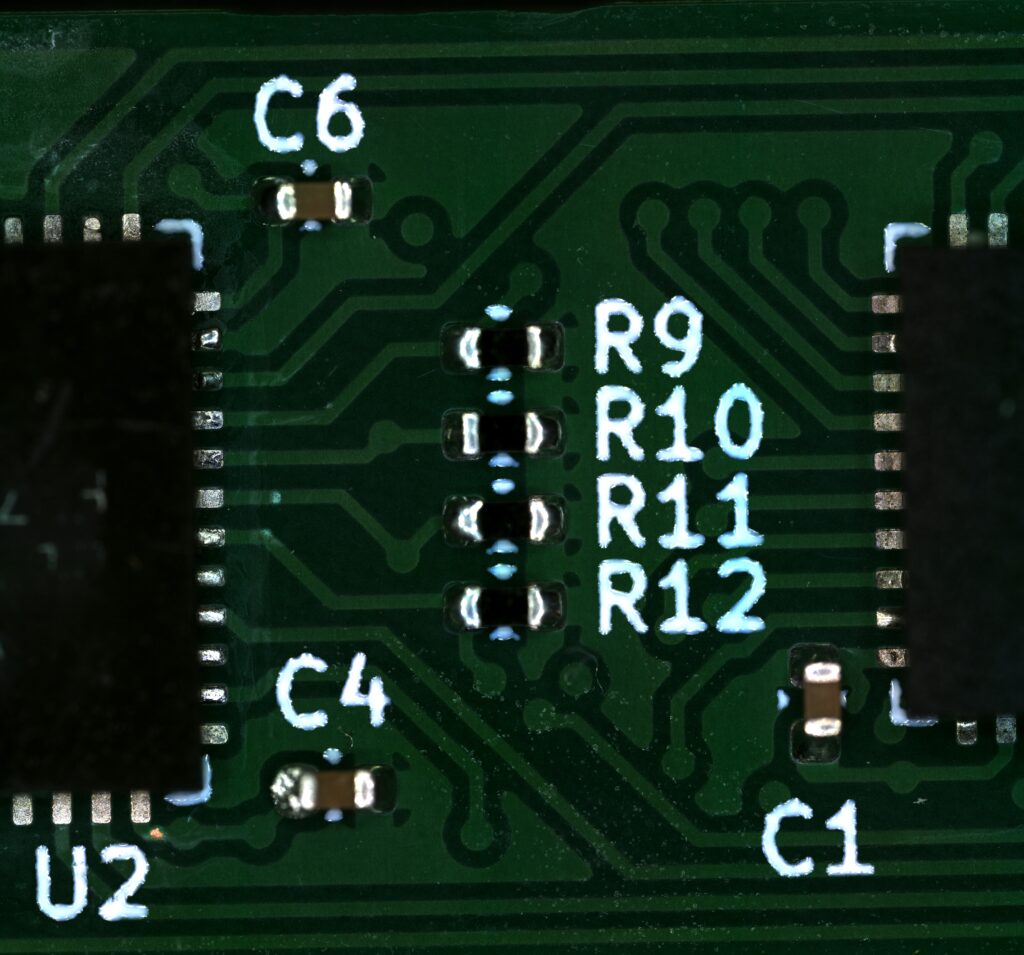
The Zeiss Smartzoom digital microscope can take pictures at high magnification, which is excellent for capturing excellent detail. It’s sometimes necessary to capture a larger area at high resolution though, and we can achieve this with the Stitching functionality in Smartzoom 5.
Start by preparing the microscope and the object you are imaging.
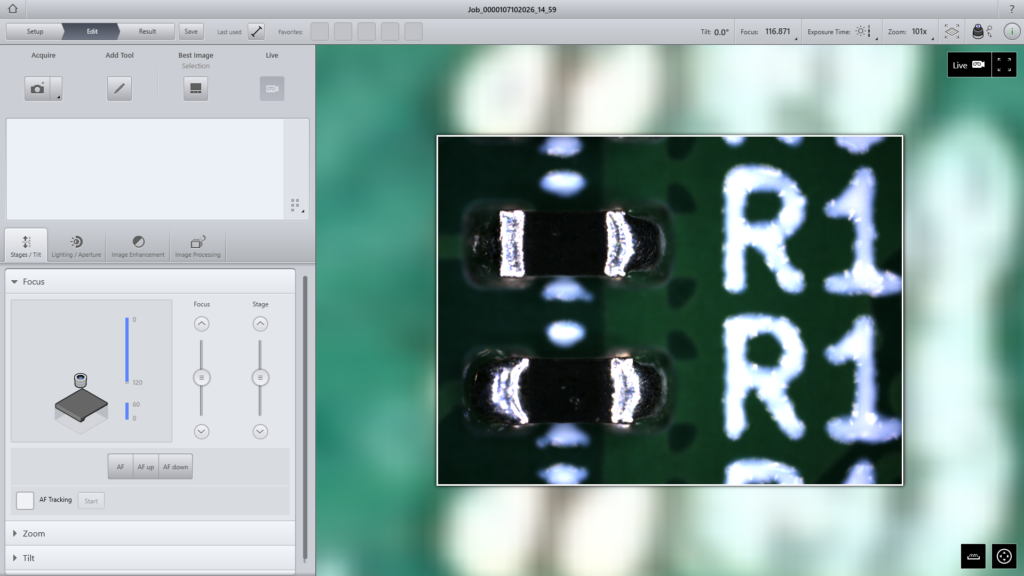
Focus the microscope and centre the field of view on the area of interest.
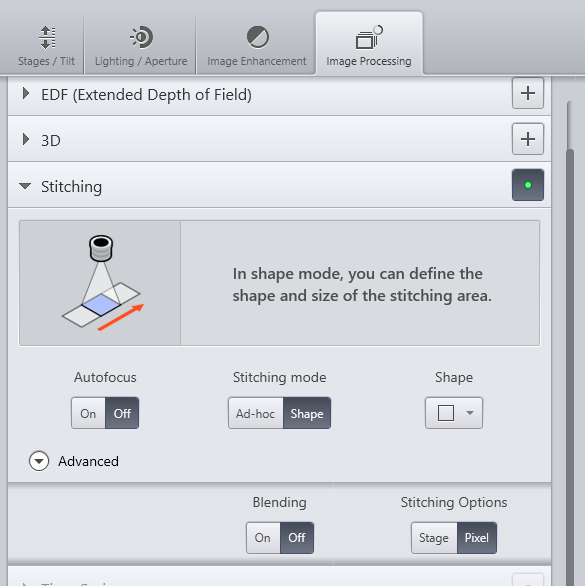
Select the Image Processing tab and click the button to the right of the Stitching row so that it is green.
Expand the row.
The default settings are usually fine, but you can adjust these if you need a particular outcome or are experiencing quality issues.
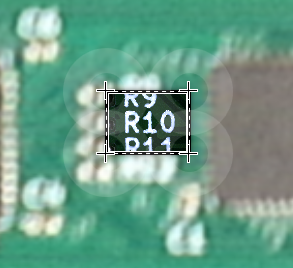
The live image area will become a crop box with moveable corners.
With the mouse cursor outside of the live image area and in the static “overview” image, scroll the mouse wheel to zoom out and show more overview.
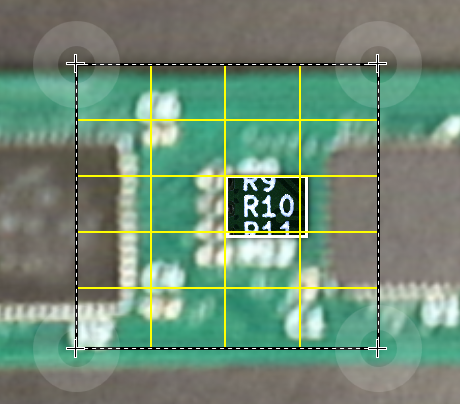
Click and drag the corners to increase the number of images captured.
The more discrete yellow squares there are the larger the captured area will be, but the longer it will take.
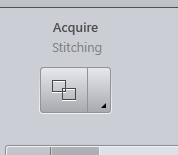
In the top left of the screen click the Acquire button, which has changed it’s icon.
Be careful to not touch or knock the microscope during the image capture process. If a class is leaving the lecture theatre outside, wait for them to pass before starting the capture.
The microscope will automatically capture a series of images and merge them together.