Getting started with the Zeiss Smartzoom 5 Digital Microscope
Log into the PC next to the Microscope, and open the Smart Zoom 5 software using the shortcut on the desktop.
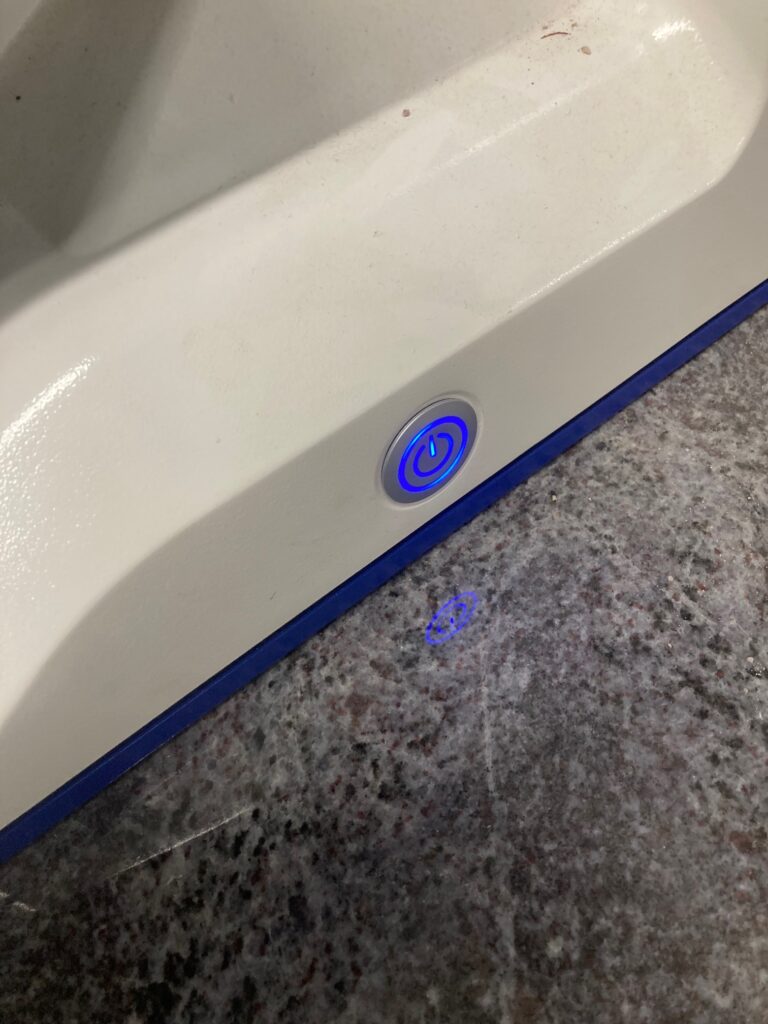
Turn on the microscope using the power button on the right hand side of the base.
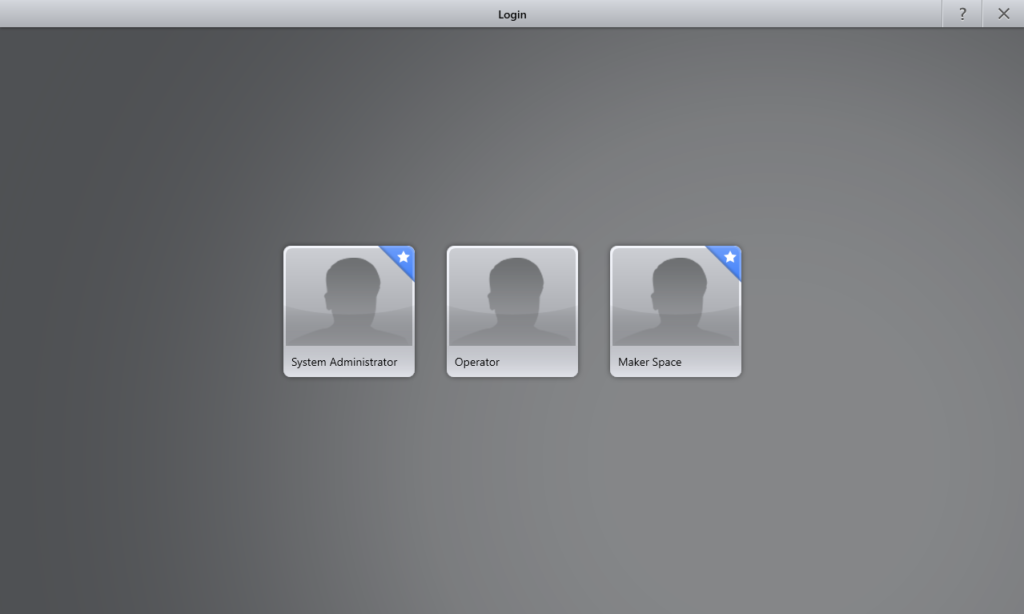
Select Maker Space from the users list.
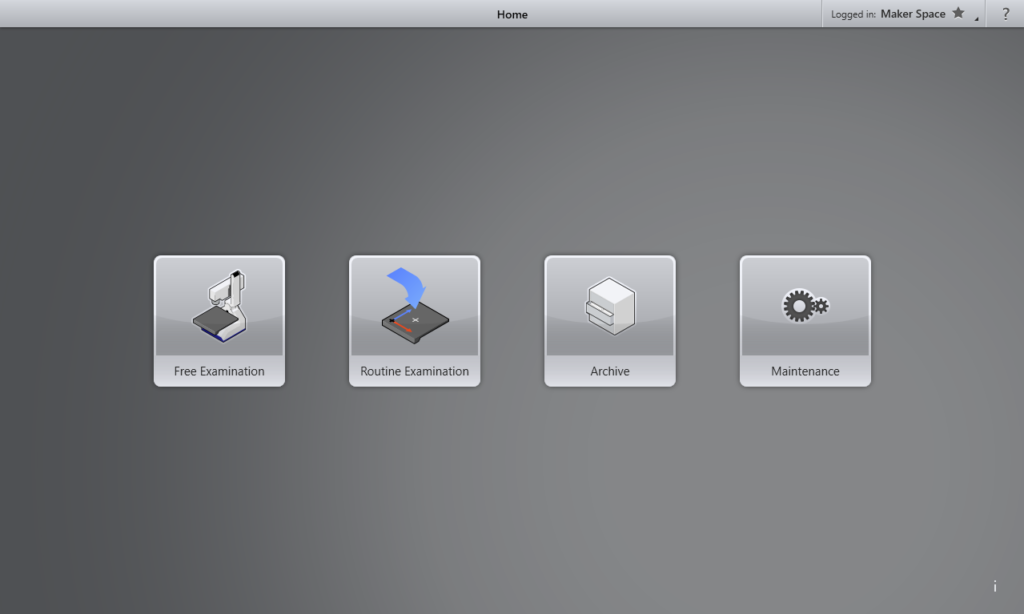
Select Free Examination from the tasks list.
First we need to capture an overview image so that we can easily navigate around.
In the top left hand corner click the Setup button.
The microscope head will travel to the top of its vertical travel, leaving space for you space to place your sample onto the bed.
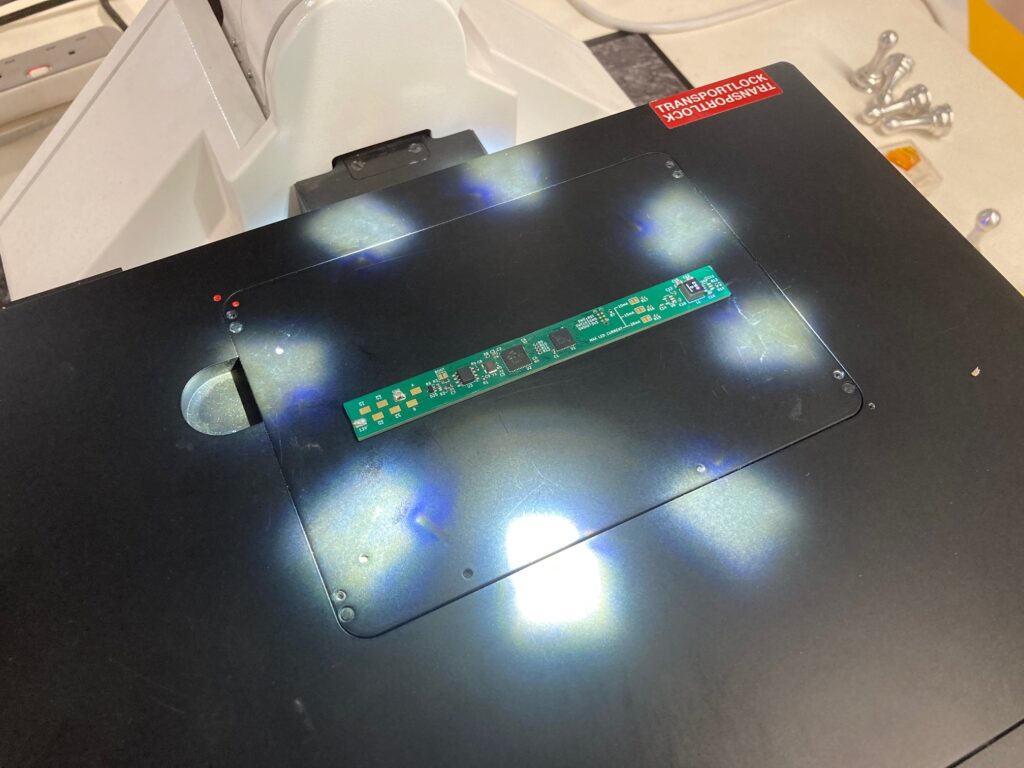
Place the sample on the bed of the microscope. Try to aim for the centre of the sample plate, or if you are using the raised guide rail side, align using those.
Note: There is a maximum loading of 4kg. Do not objects totalling more than 4kg onto the microscope platten.
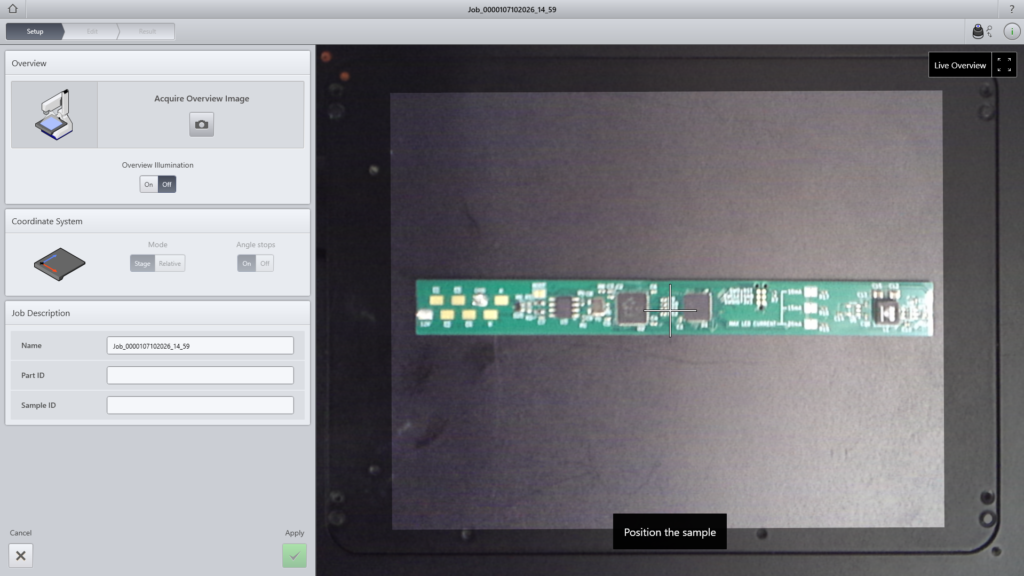
Check that your part is represented in the overview area.
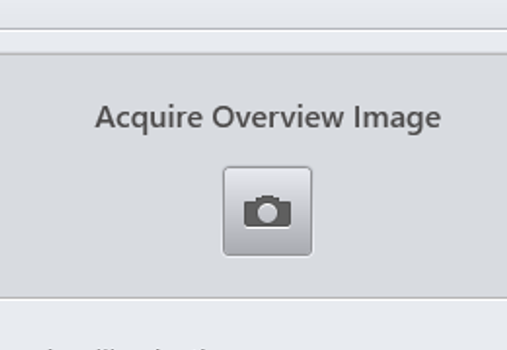
Click Acquire Overview Image to capture the image, then click the green Apply button at the bottom left.
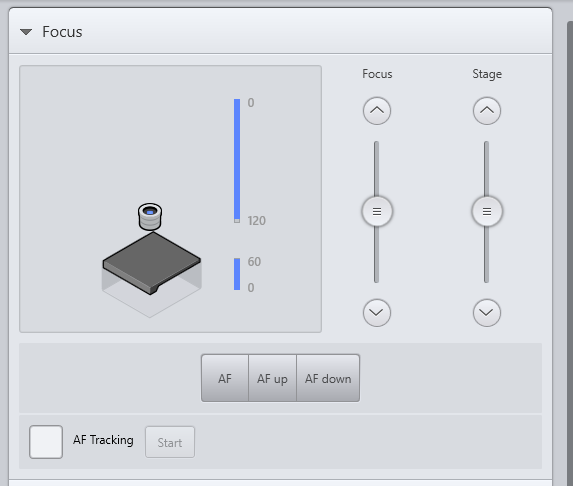
Carefully use the Focus slider to focus the image. Drag the slider downwards to move the head of the microscope down.
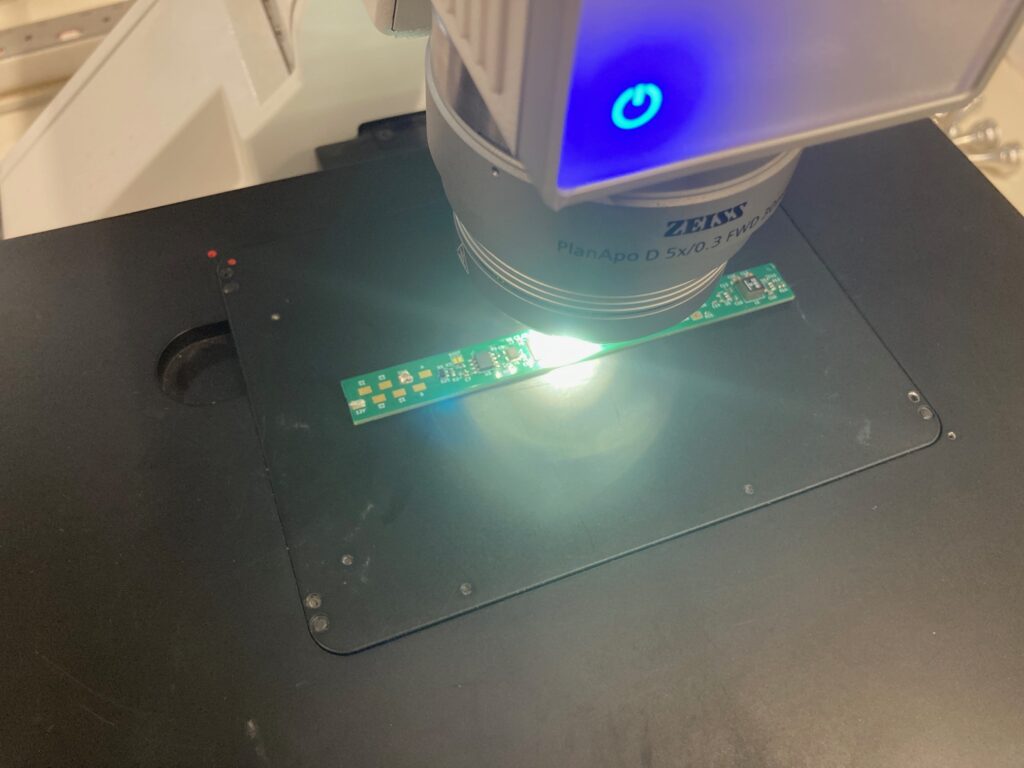
As a rough guide, bring the head down until the ring lights converge.
You can then fine tune the focus manually or using the autofocus functionality by clicking the AF, AF up, and AF down buttons.
Warning: Do not crash the microscope lens into the object you are trying to image. This will cause significant damage to the microscope.
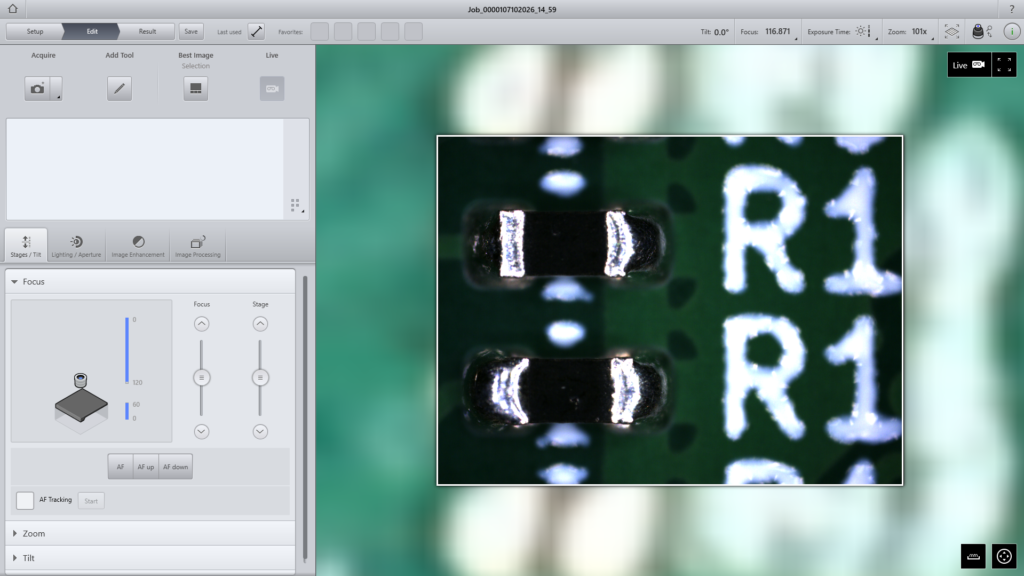
You should end up with an image that is in focus.
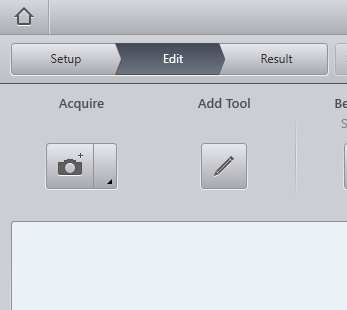
Capture an image of the current microscope view by clicking the Acquire button, which for a simple static image looks has a camera icon.
Clicking this button will capture the image and enter image annotation mode.
Click Add Tool to add measurement tools and a scale bar.
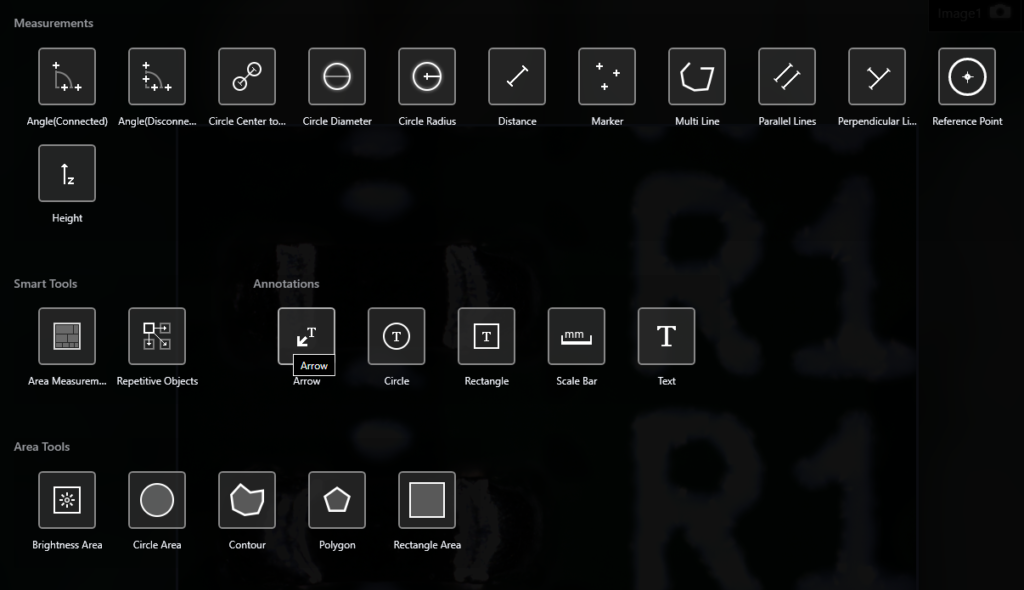
First add a scale bar by choosing it from the icon menu. Once you have a scale bar, you can add other tools like distance and angle measurement.
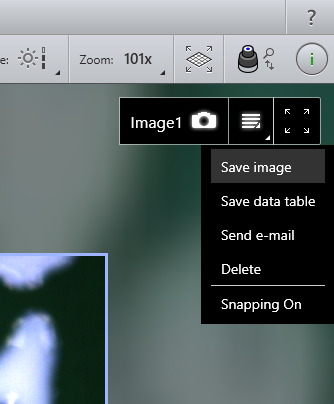
Click the centre “hamburger menu” button then choose Save Image to create a JPEG copy of your image with annotations.
Save these files somewhere safe – on OneDrive, a USB Drive, or your F drive. Don’t leave them on the desktop of the PC or they may end up being deleted!
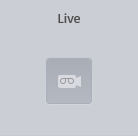
Click the Live button to get back into live camera mode.
If you wish to image a new part, or want to exit the software, click the Home icon in the top left corner.
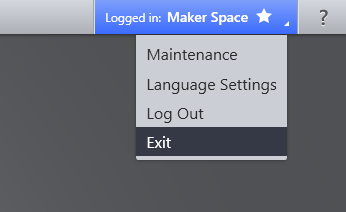
To exit the software, click the Logged in: Maker Space menu in the top right corner, then click Exit.