Re-probing tool offsets after replacing a tool
Hazards


Instructions
Breaking a tool from time to time is normal, sometimes they wear out and break, sometimes a toolpath is a little bit optimistic. Once you have replaced the tool with a fresh one, you must re-probe it using the tool length probe that is built into the machine. This is a quick process – faster than creating an entirely new tool – because you just need to set the probing cycle running, no values to change or update.
It’s important to probe the tool immediately after loading it back into the machine. If you don’t do it right away you’ll forget, and that will lead to crashing the machine or breaking another tool.
You can also re-probe tools which haven’t broken, in case you think the offset might have changed slightly or the tool might have worn.
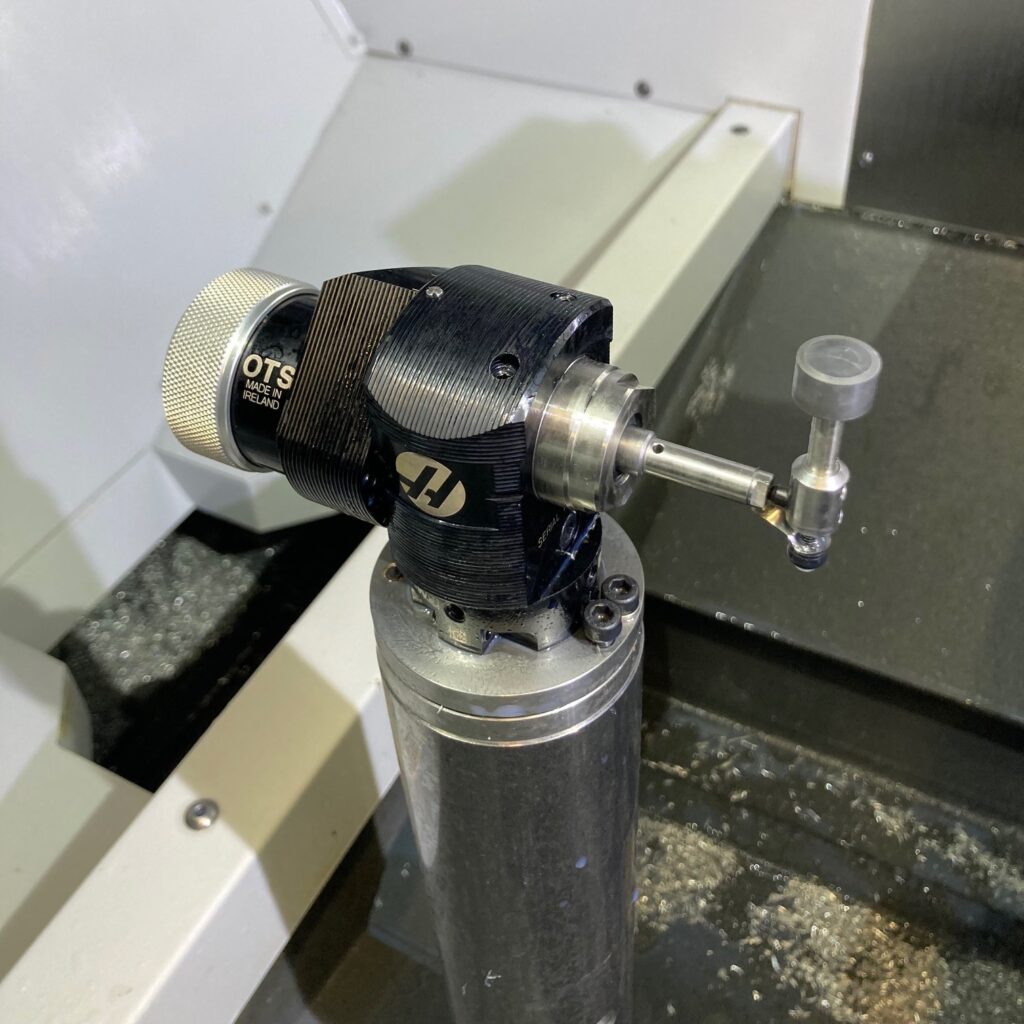
Make sure the top of the tool probe stylus is clean and clear of chips and debris.
If it is safe to do so, return the table and spindle to the home position using the Home G28 button.
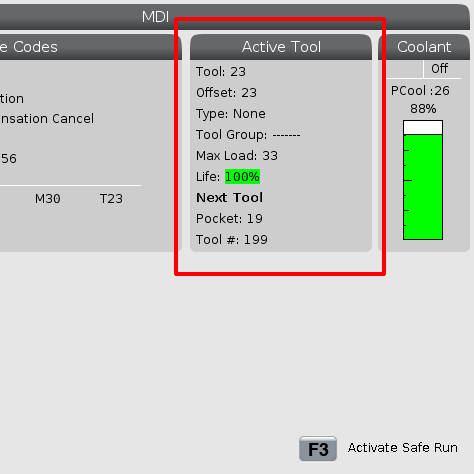
Ensure the tool to be probed is loaded in the spindle, and that the machine thinks is loaded into the spindle is correct.
Check this by pressing the Program display button and looking for the Tool Number.
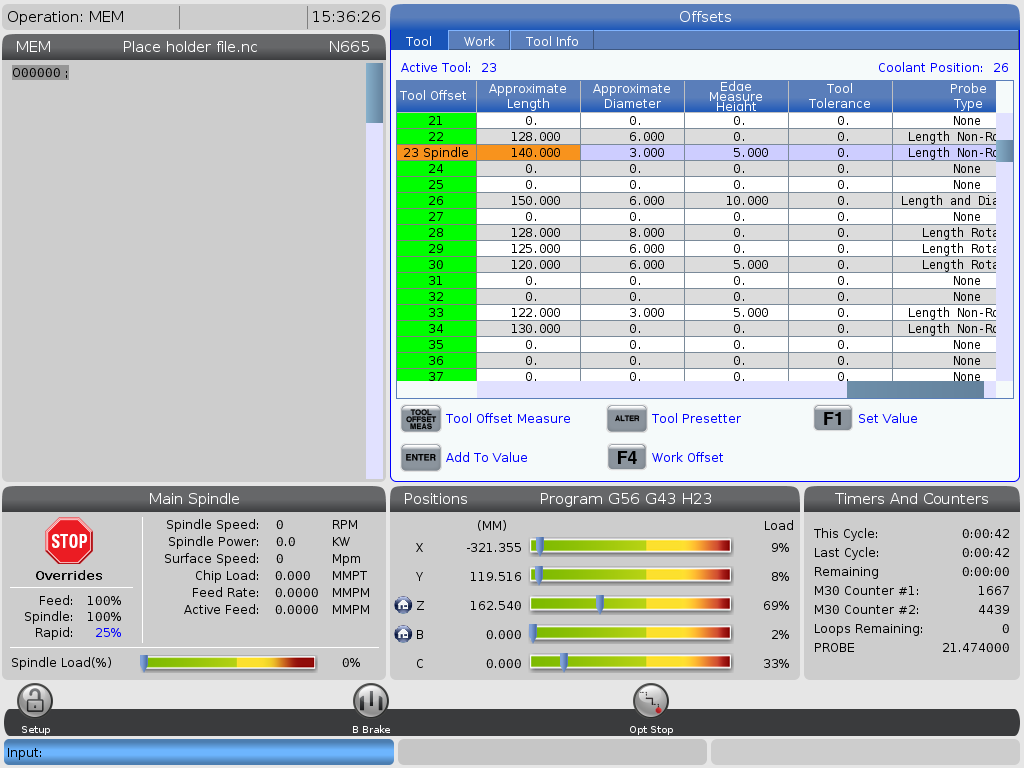
Enter the Offsets display screen and navigate to the Tools tab.
The tool currently loaded will have “Spindle” next to it in the tool table, and should be highlighted. If it’s not highlighted, use the cursors to select it.
Use the Right Cursor button to move all the way to the third from last column of the tool table, named “Approximate Length”.
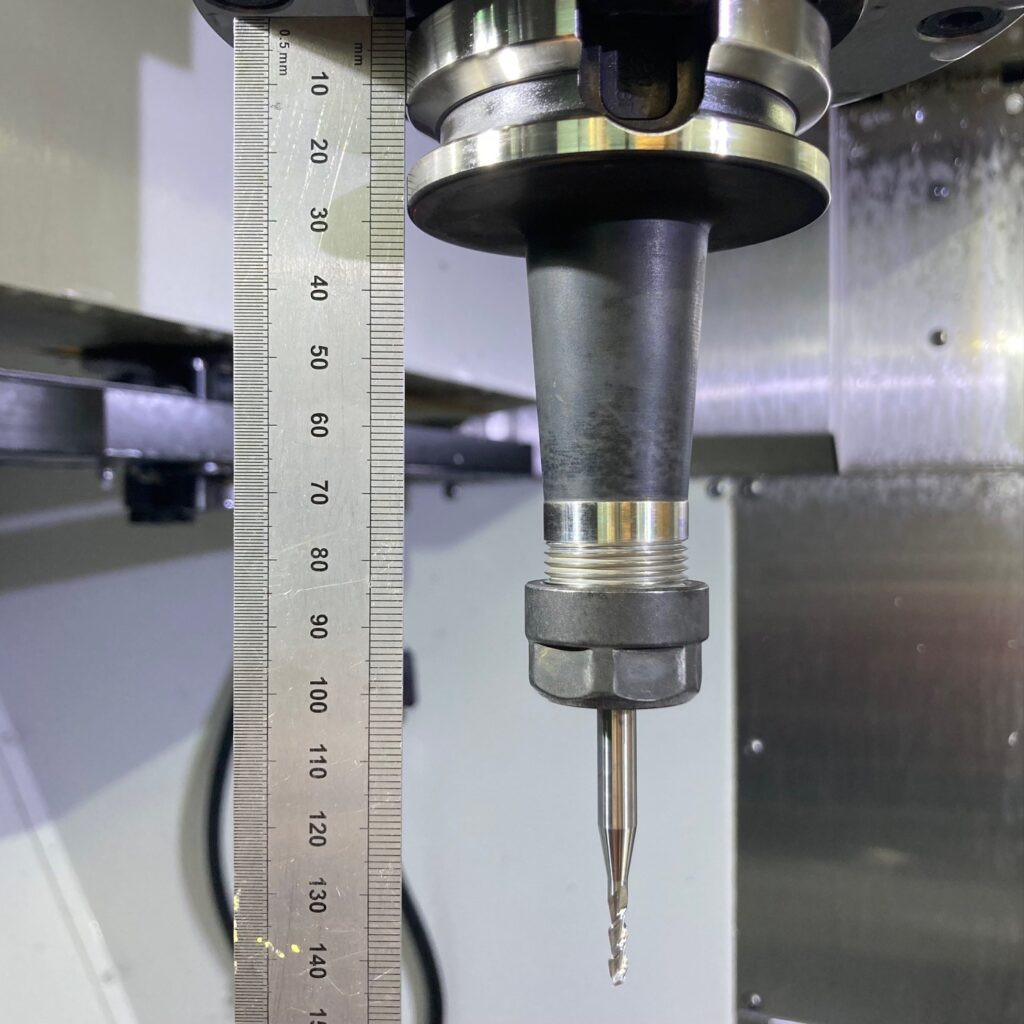
Ensure the length of the entire tool holder and tool assembly (measured from the spindle face* to the end of the tool) is equal to the Approximate Length. Leeway of a few millimeters is allowed, but if you’re off by a considerable amount break down the tool and try again.
When setting a tool up the length below the tool holder nose/collet should match the value in the Fusion tool library as closely as possible.
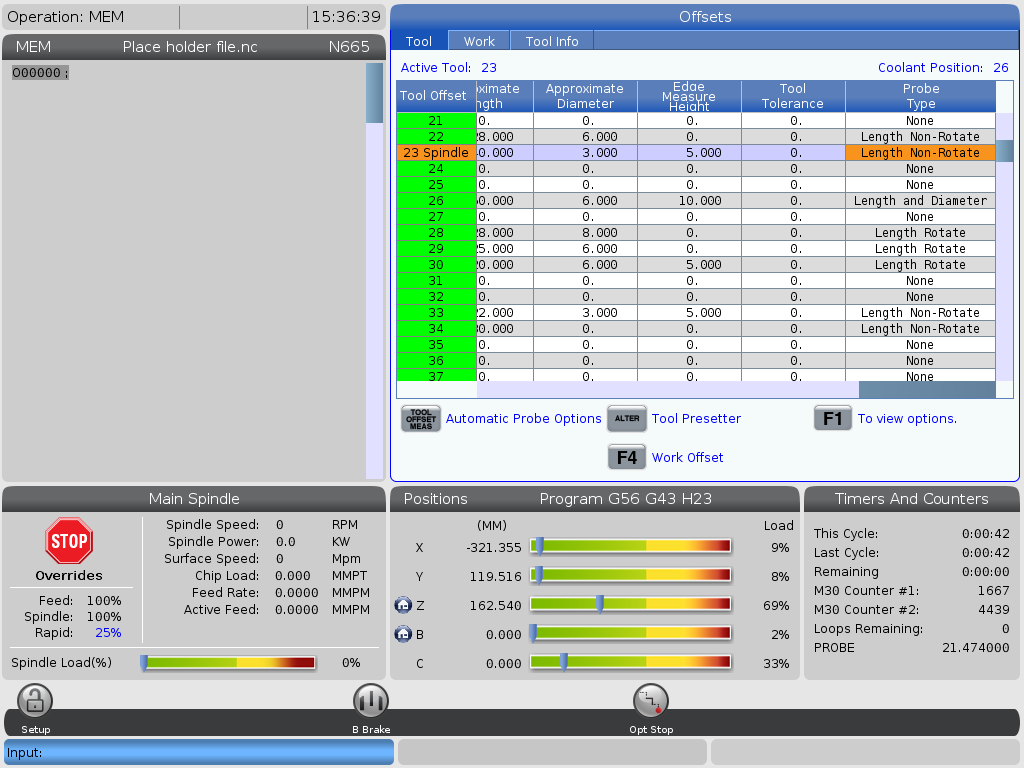
If the approximate tool length is fine, keep pressing Cursor Right until you reach the final column.
The probing type will already be set, as you are re-probing an existing tool.
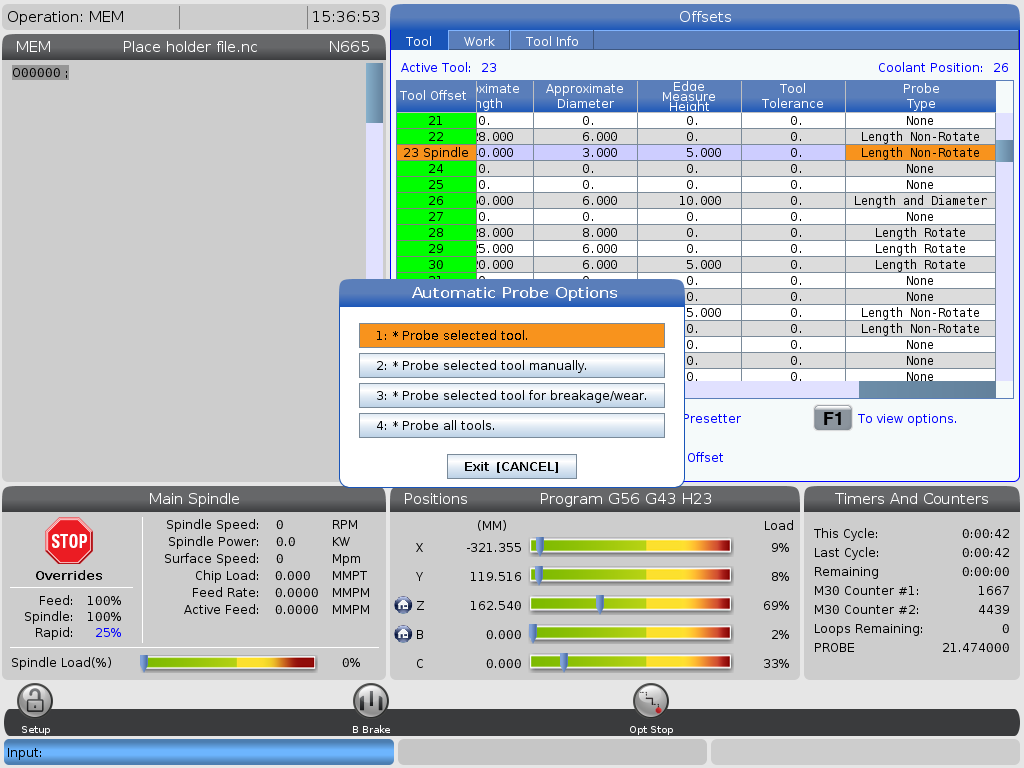
Press the Tool Offset Measure button on the control panel, then select Probe selected tool by pressing the 1 key on the numpad.
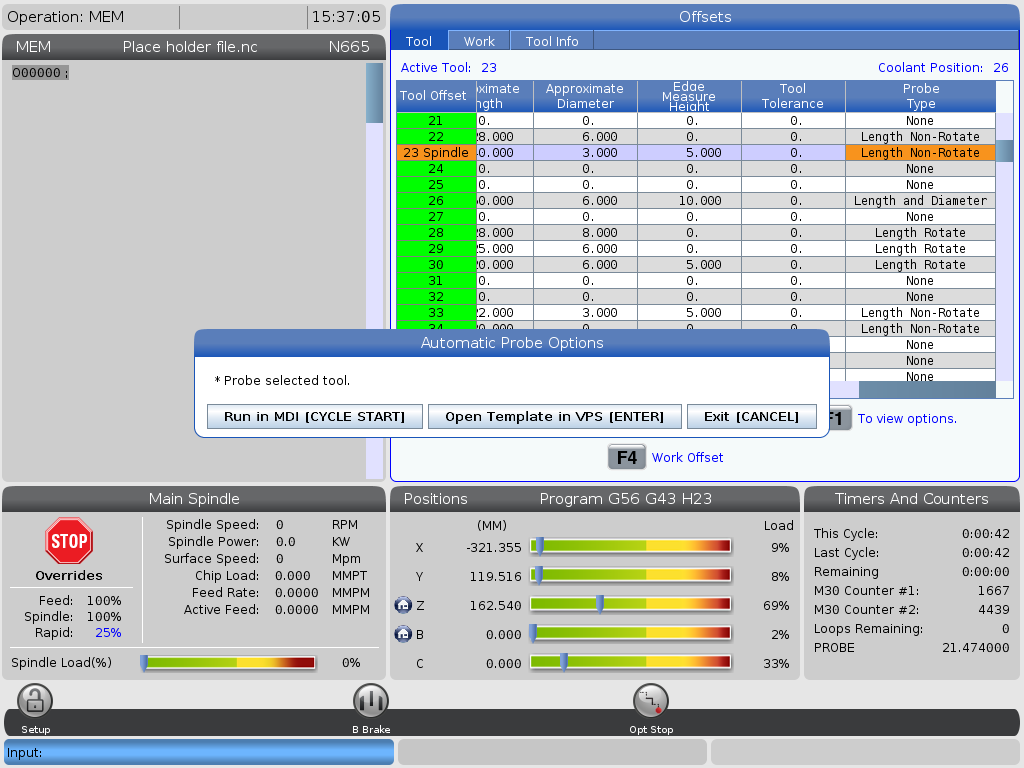
Choose Run in MDI by pressing Cycle Start. The tool will move above the tool probe and perform the tool probing operation.
Once the tool has touched off on the tool probe it is ready for use again
* The actual gauge line is an imaginary point on the BT40 taper, not the spindle nose, which makes it useless to measure from. We’re using the spindle nose as a stand-in that will be close enough for this purpose.