Bambu Lab P2S
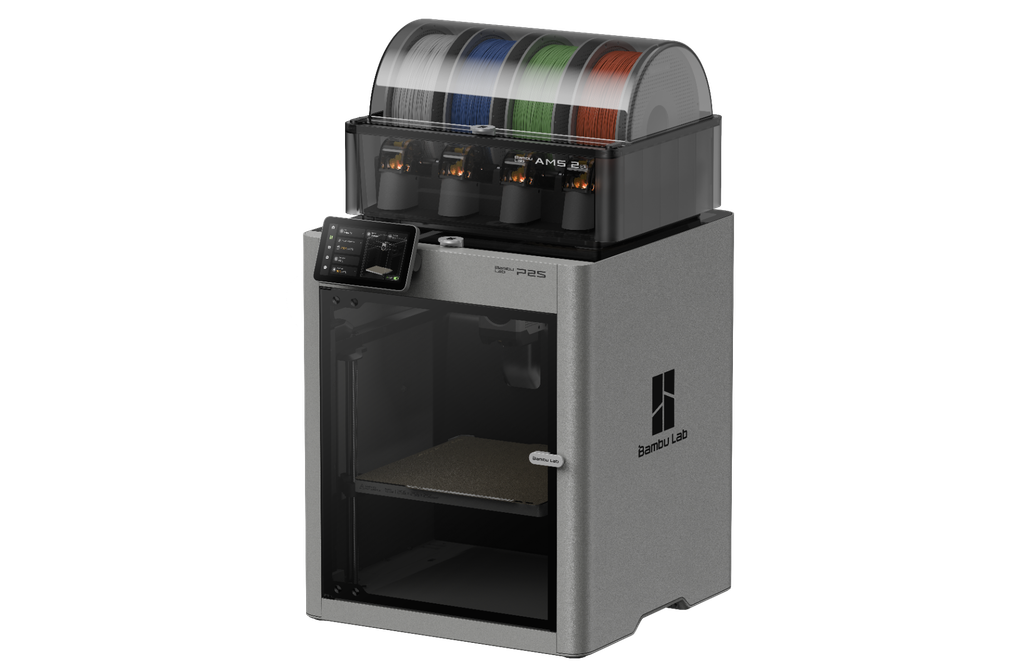
Bambu lab P2S build volume
Width (X-axis): 256 mm
Depth (Y-axis): 256 mm
Height (Z-axis): 256 mm
Setting a print running
There is a USB located on the left of the printer.
Insert this USB into one of the Maker Space PC, then save your print file to it from Bambu Studio.
Starting a print
- Insert the USB drive into the USB port.
- Select the Home icon on the left-hand side.
- Select Print File.
- Choose the USB tab.
- Tap your file in the list to select it.
- If needed, change the filament you are printing with on this screen.
- Select Print Now.
Build plates
There are a variety of build plates available, but the most commonly used (textured PEI) combination is loaded into the printer most of the time.
The printer detects which build plate is loaded and compares it to the build plate it is expecting in the sliced g-code file. If it starts complaining, check you’ve got it the right way around, and that the correct build plate is loaded. Also check that you have select the correct build plate when slicing your parts in Bambu Studio.
The build plate is held to the bed magnetically. To remove it simply pull up from the front, to replace use the guides in the back and slide the plate in at a slight angle until it is seated in the correct position.
Filament
This printer uses 1.75mm filament.
Bambu Lab P2S, compatible filaments include:
- Standard: PLA, PETG, ABS and ASA.
- Flexible: TPU.
- Engineering: PET, PA (nylon) and PC (polycarbonate).
- Support: PVA, Support for PLA, Support for PLA/PETG and Support for ABS.
- Carbon-fibre reinforced: PLA-CF, PETG-CF, ASA-CF, PA6-CF, PAHT-CF, PPA-CF and PET-CF.
Unfortunately the Filamentive cardboard filament spool doesn’t fit into the AMS properly (the lid can’t close) so we use the Bambu Lab filament ordered through Additive-X. Refill packs are recommended to reduce the amount of plastic waste produced.