Connecting to the Laser Cutter (Epilog Fusion Pro 36)
| Turn on the laser cutter power.
Wait for the machine to start up and home itself before continuing with the next steps. | |
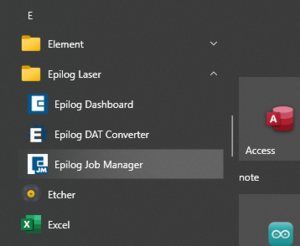 |
Open Epilog Job Manager from the Start Menu or the Desktop. |
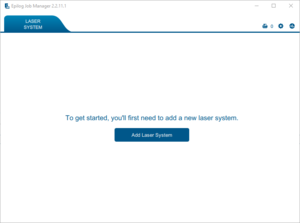 |
If the Fusion Edge 36 is listed as a laser then you are done - start laser cutting!
If the machine isn't shown click on Add Laser System. This may be a large button with text in the centre of the screen, or a small plus icon in the top left. |
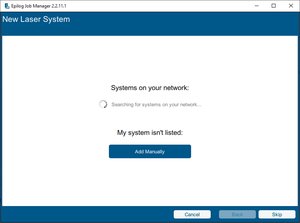 |
Click Add Manually. |
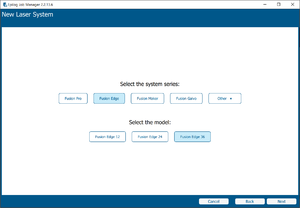 |
Select Fusion Edge as the system series, then Fusion Edge 36 as the laser model.
Click Next. |
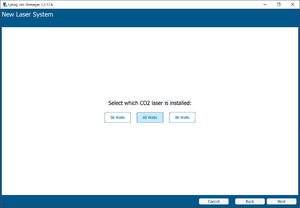 |
Select 60 watts for the CO2 laser tube option.
Click Next. |
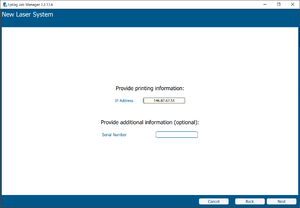 |
Enter the IP address 146.87.67.51 in the text box.
You do not need to enter a serial number. Click Next. |
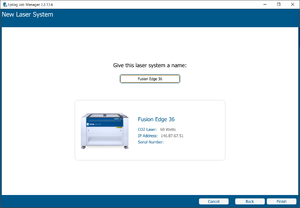 |
Give the machine the name Fusion Edge 36.
Click Finish, then close Epilog Job Manager. |
